Introduction
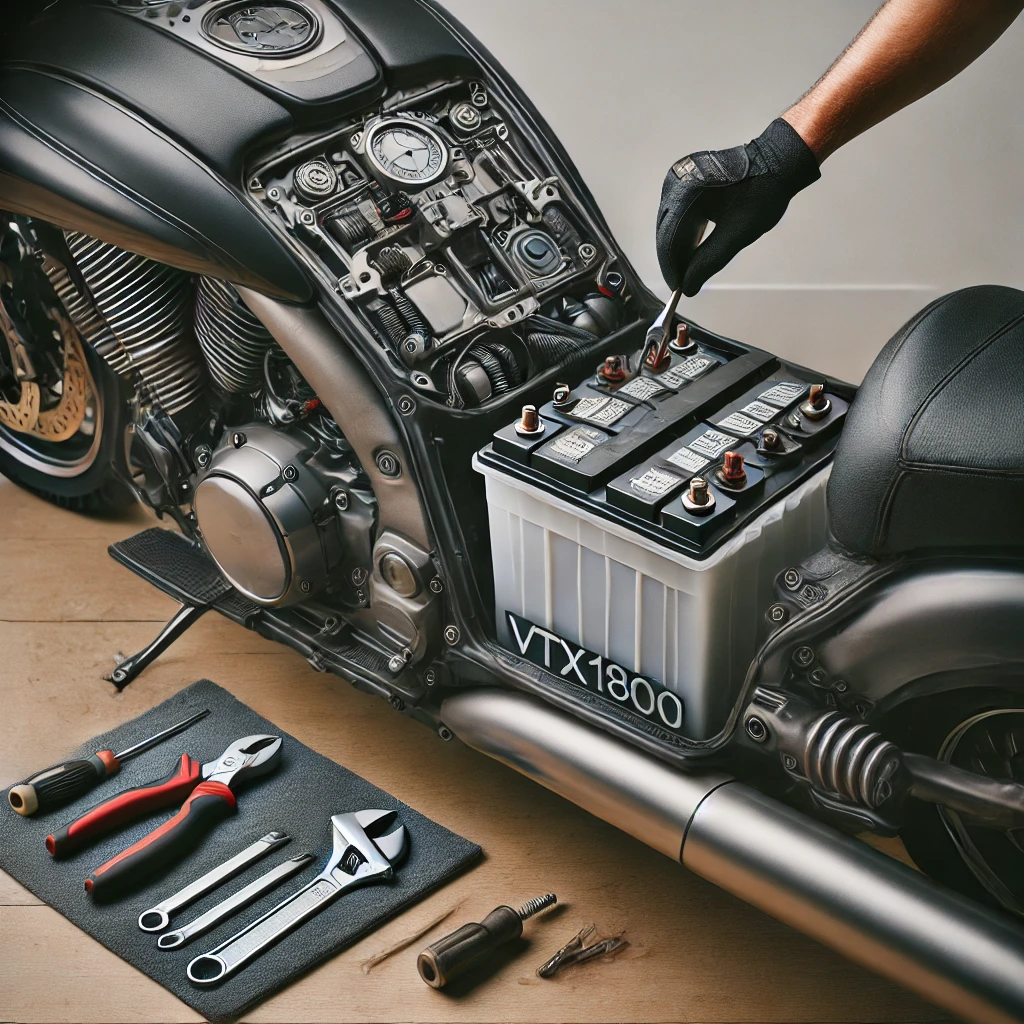
The Honda VTX1800 is a powerful motorcycle renowned for its reliability and strong performance. However, like all motorcycles, it requires regular maintenance. One of the more commonly serviced parts is the Battery, which resides in a compartment known as the “Batterbox” on the VTX1800. The Batterbox serves as a housing unit not only for the Battery but also for some of the bike’s essential wiring. Learning how to take off the Batterbox from a Honda VTX1800 is a valuable skill for any bike owner, as it opens up access to the electrical system for cleaning, inspections, and replacements.
Tools and Preparation for Removing the Batterbox
Before starting the removal process, it’s important to have the right tools on hand and to prepare the bike for maintenance.
Tools Needed
Here’s a list of tools you’ll need to take off the Batterbox from your Honda VTX1800:
- Phillips screwdriver and flathead screwdriver: For screws and minor adjustments.
- Socket wrench set (metric): Honda motorcycles typically use metric fasteners.
- Needle-nose pliers: For handling clips and wires.
- Precautionary gloves: To safeguard your hands from sharp edges and electrical parts.
- Zip ties: Useful for organizing wires upon reassembly.

Preparation Steps
- Park on a Level Surface: Find a stable, level surface to park your Honda VTX1800, as this will make it easier and safer to work.
- Turn Off the Ignition and Remove the Key: Ensure the bike is completely off, and remove the key for safety.
- Allow the Bike to Cool: If you’ve recently ridden the bike, let it cool for at least 15-20 minutes to avoid burns.
- Disconnect the Negative Battery Terminal: This is crucial to prevent electrical shock or damage to the system.
- Step-by-Step Guide to Removing the Batterbox
This section breaks down the process of removing the Batterbox from a Honda VTX1800 into easy-to-follow steps.
Step 1: Remove the Seat
- Locate Seat Bolts: The seat on a VTX1800 is typically secured by bolts under the rear section. Use a socket wrench to remove these bolts.
- Slide and Lift: With the bolts removed, gently slide the seat toward the rear of the bike to disengage it from its mount, then lift it off to expose the Batterbox area.
Step 2: Access the Batterbox Cover
- Locate the Batterbox Cover: After the seat is removed, you should be able to see the Batterbox cover.
- Remove Screws or Clips: The Battery box cover may be held in place by screws or clips. Use the appropriate screwdriver or pliers to remove these carefully, taking note of where each fastener came from for reassembly.
Step 3: Disconnect the Battery
- Remove the Negative Terminal First: Using a wrench, loosen and remove the negative (black) terminal of the Battery. It minimizes the risk of short-circuiting.
- Disconnect the Positive Terminal: Next, remove the positive (red) terminal similarly. Ensure both terminals are completely disconnected before moving forward.
Step 4: Remove the Battery from the Batterbox
- Lift the Battery Out: Carefully lift the Battery out of the Batterbox. Batteries can be heavy and may have additional connections, so proceed slowly.
- Inspect Wires and Cables: While the Battery is removed, take this opportunity to inspect any wires or cables in the Batterbox area for signs of wear or corrosion.
Step 5: Detach the Batterbox from the Frame
Locate Fastening Bolts: The Batterbox itself is often secured to the motorcycle’s frame with bolts. Use your socket wrench to remove these bolts carefully.
Gently Pull the Batterbox Out: With the bolts removed, gently pull the Batterbox out of its slot. Watch for any wiring routed through or attached to the Batterbox; if needed, use zip ties to keep wires organized for reassembly.

Tips for Reassembly
Organize Fasteners and Parts: Place all screws, bolts, and parts in a container or
magnetic tray to prevent losing them.
Inspect the Batterbox: Check the Batterbox for any signs of wear, corrosion, or debris. Clean it as needed to ensure it’s in good condition.
Reconnect the Battery in Reverse Order: Attach the positive terminal first, then the negative, to minimize electrical hazards.
Common Mistakes and Troubleshooting
Improper Battery Connection: Always double-check connections to ensure they’re secure. Loose connections can lead to electrical issues or starting problems.
Seat Misalignment: When replacing the seat, ensure it’s aligned correctly with the mounting points to avoid instability during rides.

Frequently Asked Questions
Can I Remove the Batterbox Without Removing the Seat?
On most Honda VTX1800 models, removing the seat is necessary to gain access to the Batterbox.
What Should I Do if the Battery Won’t Come Out?
If the Battery is stuck, it may be due to corrosion. Try gently loosening it with a tool, but avoid using excessive force, as this can damage the Battery or surrounding components.
How Often Should I Inspect the Batterbox?
Routine checks every 6 months can prevent issues. Also, inspect the Batterbox during regular battery maintenance or replacement.
Conclusion
Removing the Battery box on a Honda VTX1800 is a task that, while manageable, requires care and attention to detail. From detaching the battery connections to safely removing the box itself, following these steps can help you maintain your bike’s electrical components efficiently.
With this guide, you’ll be well-prepared to remove and reattach the Batterbox safely, ensuring that your Honda VTX1800 stays in top condition for many rides to come.

