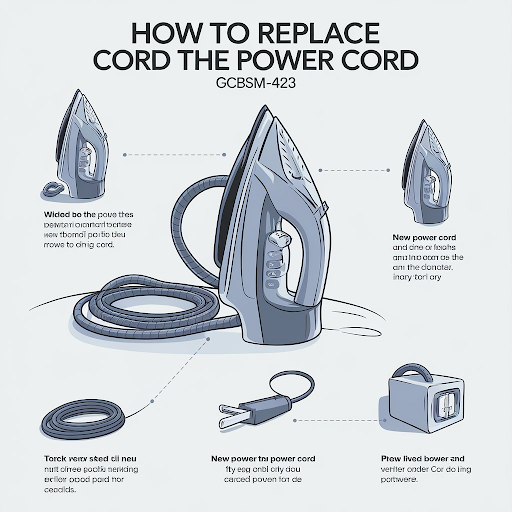
The Sunbeam iron model GCBSM-423 is a household name for ironing, known for its durability and efficiency. Like any electronic device, wear and tear can eventually affect its functionality, especially with its power cord. Replacing the cord is essential if you notice fraying or signs of damage. This guide offers a comprehensive, easy-to-follow replacement manual for the Sunbeam Iron Model GCBSM-423, ensuring safety and long-lasting performance.
Introduction to the Sunbeam Iron Model GCBSM-423
The Sunbeam Iron Model GCBSM-423 is designed for everyday use, offering consistent heat and steam for smooth, wrinkle-free clothing. However, a damaged or worn-out cord is one of the most common issues with irons, particularly in this model. The cord is crucial for providing electricity to the iron and ensuring proper operation. Over time, constant movement during ironing can lead to fraying or internal wire damage. If left unchecked, this can pose serious safety risks, such as electric shocks or fires.
Importance of Replacing a Damaged Power Cord
A damaged power cord isn’t something to ignore. When the cord’s protective insulation wears out, the wires inside become exposed. This exposure can lead to electrical short circuits, potential shocks, or even damage to the iron itself. Replacing the cord when signs of wear become evident is crucial for maintaining safety. In addition, a well-maintained iron ensures more reliable performance and extends the appliance’s life.
Safety First: Precautions Before Cord Replacement
Before you start replacing the cord on your Sunbeam iron, follow these safety precautions to avoid accidents:
- Unplug the Iron: Make sure the iron is not connected to any power source before beginning any repair work.
- Wait for the Iron to Cool: If the iron was recently used, wait for it to cool down to avoid burns.
- Work in a Dry Environment: Ensure your workspace is free of any liquids or moisture that could increase the risk of electrical shock.
- Use Insulated Tools: Whenever possible, use tools with insulated handles to reduce the risk of electrical shock.
Step-by-Step Guide to Replacing the Cord on a Sunbeam Iron GCBSM-423
Now that you’ve gathered your tools and taken the necessary precautions, it’s time to replace the cord on your Sunbeam iron. Follow these step-by-step instructions for a successful replacement.
Step 1: Disassemble the Iron
Using a Phillips screwdriver, carefully remove the screws holding the iron together. Typically, these screws are located at the back or bottom of the iron. Place the screws in a safe spot, as you’ll need them to reassemble the iron later. Once unscrewed, gently open the casing to expose the internal wiring.
Step 2: Locate the Cord Connection
Inside the iron, locate where the power cord connects to the internal wiring. It’s usually connected to a small terminal block or soldered directly onto the circuit board. Note where each wire is connected, as this will help you attach the new cord correctly.
Step 3: Remove the Old Cord
Disconnect the old cord from the iron using a screwdriver or wire cutter. If the wires are soldered, use the wire cutters to snip them carefully. Be cautious not to damage any surrounding components while cutting the cord.
Step 4: Prepare the New Cord
Take your replacement cord and use wire strippers to remove about half an inch of insulation from each wire end. This will expose the copper wiring, which will be connected to the iron’s internal terminals.
Step 5: Attach the New Cord
Connect the new cord’s wires to the corresponding terminals or solder points. Be sure to match the correct wire colours (typically black for live, white for neutral, and green for ground). If you’re unfamiliar with electrical wiring, consult the iron’s manual or a professional.
Step 6: Secure the Connections
Once the wires are securely attached, either solder the connections or screw them into the terminal block, depending on your iron’s design. Use electrical tape or heat shrink tubing to cover exposed wires and prevent accidental short circuits.
Step 7: Reassemble the Iron
Carefully put the iron’s casing back together, ensuring no wires are pinched or out of place. Reinsert the screws and tighten them securely.
Step 8: Test the Iron
Double-check all connections before plugging the iron to ensure everything is properly secured. Plug the iron into a power outlet and test it. The cord replacement was successful if the iron heats up and functions normally without flickering or power issues.
Common Questions About Sunbeam Iron GCBSM-423 Cord Replacement
How Often Should I Replace the Cord?
There is no set time frame for cord replacement. It depends on usage and how well the iron is maintained. However, if you notice any damage, such as fraying or overheating, it’s time to replace the cord immediately.
Can I Use a Different Cord Than the Original?
It would help to use a cord specifically designed for the Sunbeam Iron Model GCBSM-423. Using a cord with different voltage or wattage ratings could cause malfunction or even damage the iron.
Should I Hire a Professional for Cord Replacement?
While you can replace the cord yourself by following the steps above, if you are unsure about working with electrical components or don’t have the necessary tools, it’s always safer to consult a professional.
Conclusion
The Sunbeam Iron Model GCBSM-423 is a reliable appliance but may require occasional maintenance like any electronic device. Replacing a damaged cord is a simple process that can extend the life of your iron and ensure safe, efficient performance. Following this guide’s steps, you can replace the power cord on your iron and avoid potential electrical hazards.
Replacing the cord of your Sunbeam iron not only keeps your iron functioning but also protects you from electrical risks. Take the time to inspect and replace the cord when necessary, and you’ll continue to enjoy wrinkle-free clothes with the reliability of your Sunbeam iron.
Read More: Healthtdy.xyz

